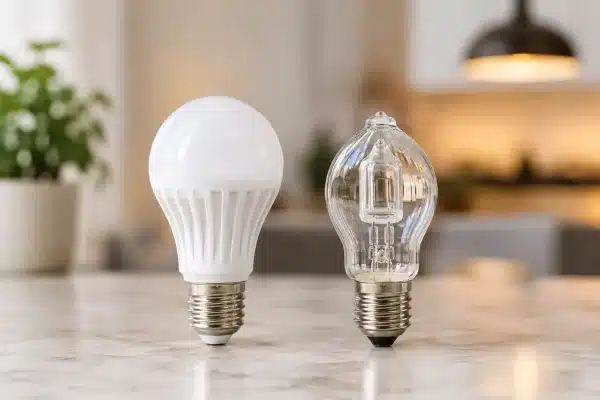
LED versus Halogen Lighting for Your Home
Compare LED versus halogen lighting for brightness, warmth, running costs and style, then choose the right bulbs and fittings for every room in your home.

An open-plan kitchen can look exceptional in daylight, then feel flat, shadowy or oddly disjointed once evening arrives. The answer is not simply adding more fittings. Knowing how to light an open-plan kitchen means giving each activity its own light, while making the whole room feel considered, comfortable and connected.
Kitchen, dining and living areas may share one footprint, but they do not ask the same thing of a lighting scheme. You need clear illumination for chopping and cooking, a welcoming glow over the table, and softer light for the sofa at the end of the day. Plan these layers from the start and the room will work just as beautifully after dark as it does in the morning.
The most successful schemes use three layers: ambient lighting for overall brightness, task lighting where precision matters, and decorative or accent lighting to bring character and depth. Treat them as a team rather than choosing one fitting to do everything.
Ambient light establishes the room’s general mood. Recessed downlights, a well-chosen central ceiling fitting or discreet surface lights can provide this base layer. In a larger kitchen-living space, place them according to the zones and the room’s architecture rather than in a rigid grid across the ceiling. A perfectly even line of downlights can look neat on a plan, but it may leave the finished room feeling clinical.
Task light is the practical layer. It belongs over worktops, the hob, sink, pantry and any desk or homework corner. Decorative light does the visual work: pendants above an island, a statement fitting over the dining table, wall lights beside shelving, or LED tape inside a glazed cabinet. This is where the scheme begins to feel personal rather than purely functional.
Crucially, put these layers on separate circuits or controls. Being able to dim the pendants without darkening the worktop lights changes how the room feels in seconds. It also prevents the familiar problem of needing every light on just to make tea.
Worktops deserve the clearest, most reliable lighting in the room. Under-cabinet LED lighting is often the most effective choice because it directs light exactly where hands, knives and ingredients are. It reduces shadows cast by wall cabinets and creates a crisp, polished finish across the kitchen.
Choose continuous LED strip for a clean line of light, especially beneath long runs of cabinetry or around awkward corners. Bespoke-cut LED strip is particularly useful where standard fittings would leave gaps, visible joins or dark patches. For kitchens with no wall units, consider adjustable ceiling spotlights or a track positioned to throw light towards the worktop rather than directly down the middle of the floor.
The hob and sink need individual consideration. A cooker hood may provide useful light over the hob, but it rarely replaces a full task-lighting plan. At the sink, avoid placing a downlight directly behind you, as your body will create a shadow over the bowl. A fitting slightly in front of the sink, or well-positioned under-cabinet lighting nearby, gives a much better result.
Aim for a neutral-to-warm white light in kitchen task areas. Around 3000K is a strong all-round choice for most homes: fresh enough for food preparation, yet warm enough to sit comfortably beside dining and living-room lighting. Cooler light can suit a highly contemporary, utility-led kitchen, but it can make timber, brass and warmer stone finishes appear less inviting.
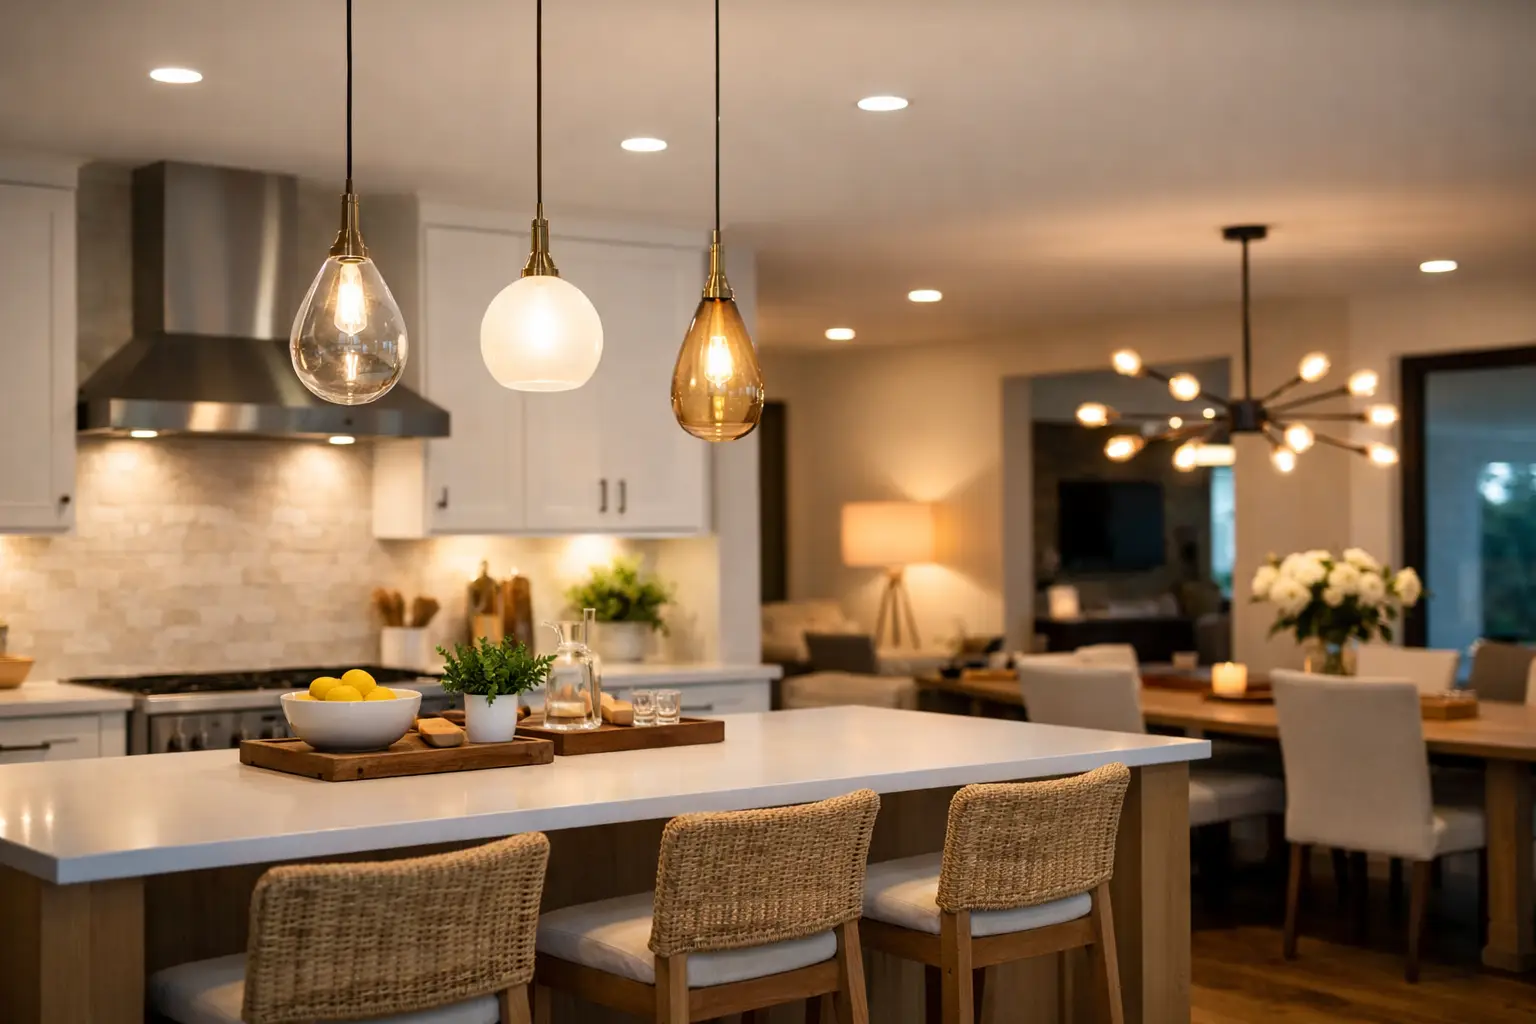
The island is often where the visual centre of the room sits. It can be a preparation space, breakfast bar, serving area and gathering point all at once, so it deserves more than one ceiling downlight.
Pendants are a natural choice here. Two or three smaller pendants often suit a long island, while one oversized feature can look striking above a compact square design. The fitting should relate to the island’s scale, not compete with it. An overly small pendant can disappear in a generous room, while a cluster that is too large can block sightlines across the space.
Hang pendants low enough to create presence, but high enough that people can see one another across the island. As a general guide, the base of a pendant usually sits around 75 to 90cm above the worktop. This can vary with ceiling height and shade size, so check the view from a seated position before final installation.
Use dimmable lamps or integrated fittings. Bright light is useful for preparation and family breakfasts; a lower level is far more flattering when guests are gathered with a glass of wine. If the island contains the hob, ensure decorative pendants do not compromise extraction, clearance or safe working space.
A dining table marks a change of pace. It should feel warmer and more intentional than the kitchen work zone, even when it is only a few steps away. A pendant, linear suspension or cluster centred over the table helps define that zone without building a wall around it.
Choose a fitting that spreads light across the tabletop rather than producing a harsh pool in the middle. A long table often benefits from a linear fitting or several pendants, whereas a round table is well suited to one sculptural pendant or a compact cluster. Materials matter too: smoked glass, fabric, rattan, opal glass and metal each change the mood as well as the look.
A dimmer is essential here. Dinner lighting should flatter faces and make the table feel inviting, not resemble a meeting room. If the dining area is beside large glazing, consider how the fitting will look reflected in the glass at night. A beautiful silhouette can become part of the room’s evening view.
The living portion of an open-plan room benefits from contrast. If it is lit to the same level as the kitchen, the entire space can feel permanently switched on. Bring in table lamps, floor lamps, wall lights and low-level LED details to create pools of warmth around seating, artwork and joinery.
This is also the best place to introduce lampshades, textured finishes and decorative forms that might be impractical near cooking. A floor lamp beside an armchair creates a reading corner; a pair of table lamps gives a sideboard or console a settled, designed feel. Wall lights can add gentle vertical illumination, making the room feel larger without filling the ceiling with more fittings.
Avoid relying on a single central fitting in the lounge zone. It may deliver brightness, but it rarely creates the relaxed mood people want from the space in the evening. Several lower-level sources will feel richer and are easier to tailor to different occasions.
Open-plan living works best when zones are distinct but not disconnected. Lighting is one of the simplest ways to create that structure. A row of pendants identifies the island, a statement suspension anchors the dining table, and lamps make the seating area feel separate and settled.
You can reinforce this with accent lighting. LED tape beneath an island overhang gives the kitchen a floating effect and softly lights the floor. Lighting within display shelving adds depth to a wall of joinery. A picture light or directional spotlight can draw attention to art, textured plaster or a favourite architectural detail.
Be selective. Too many effects can make a room feel busy, especially in a kitchen where appliances, handles and finishes already create visual detail. Choose one or two moments to highlight and allow the rest of the scheme to remain calm.
The best lighting design can be undermined by poor controls. Think about how you enter and use the room: arriving through the back door with shopping, making breakfast before sunrise, cooking while children do homework, or settling down after dinner. Each moment calls for a different combination of light.
At a minimum, separate kitchen task lighting, island or dining pendants, and living-area lighting. Add dimmers wherever the fitting allows, particularly for decorative and ambient circuits. Smart controls can be worthwhile in a busy household, allowing you to save scenes such as cooking, dining and evening, but conventional dimmers remain an excellent choice when simplicity is the priority.
Also consider bulb replacement and compatibility. Not every LED bulb works well with every dimmer, and poorly matched products can flicker or buzz. Choosing quality fittings, compatible dimmable lamps and appropriate controls from the outset saves frustration later.
There is no single right look for an open-plan kitchen. A low ceiling may suit slim spotlights, compact flush fittings and visually light pendants. A double-height extension can carry larger statement pieces, but it may also need additional wall or floor-level lighting to prevent the lower part of the room feeling lost.
Dark cabinetry, matt black finishes and deep-toned worktops absorb more light than pale painted units or reflective stone. They can look wonderfully dramatic, but usually need stronger task lighting and thoughtful accent light. Conversely, a very white kitchen can become glaring if every fitting is bright and cool. The balance depends on your materials, natural light and how you want to feel in the room after sunset.
For renovation projects across Ireland, Lux Lighting can help translate a floorplan, kitchen layout and finish palette into a practical scheme, including tailored LED strip solutions for cabinetry and joinery. It is often easier and more cost-effective to resolve the lighting before electrics are finalised than to correct shadows and missing circuits after the kitchen is fitted.
A well-lit open-plan kitchen should never feel like one large room with every light blazing. Build it around the real rhythm of your home: bright where you prepare, warm where you gather, and softly layered where you relax. That is what turns an open layout into a space people genuinely want to stay in.
Compare LED versus halogen lighting for brightness, warmth, running costs and style, then choose the right bulbs and fittings for every room in your home.
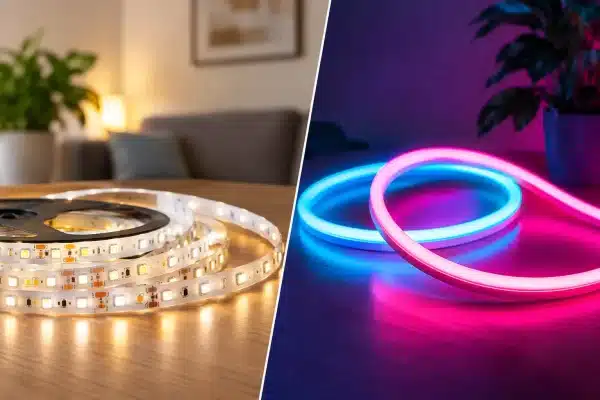
LED strip lights vs neon: compare brightness, style, cost and installation to choose the right feature lighting for your home or project with confidence.
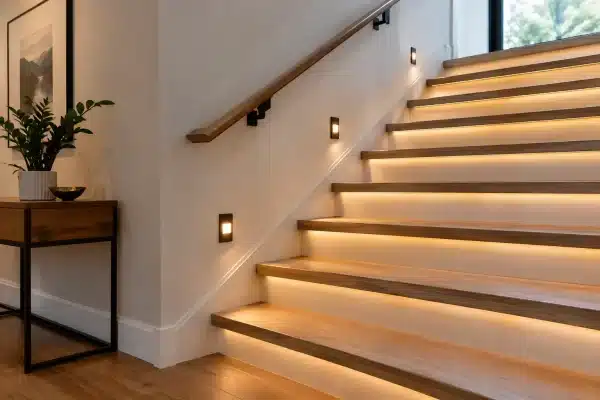
Learn how to choose stair lighting for safer steps, better ambience and a polished finish, from fitting placement to colour temperature and control options.
Compare LED versus halogen lighting for brightness, warmth, running costs and style, then choose the right bulbs and fittings for every room in your home.
LED strip lights vs neon: compare brightness, style, cost and installation to choose the right feature lighting for your home or project with confidence.
Learn how to choose stair lighting for safer steps, better ambience and a polished finish, from fitting placement to colour temperature and control options.
| Cookie | Duration | Description |
|---|---|---|
| cookielawinfo-checkbox-analytics | 11 months | This cookie is set by GDPR Cookie Consent plugin. The cookie is used to store the user consent for the cookies in the category "Analytics". |
| cookielawinfo-checkbox-functional | 11 months | The cookie is set by GDPR cookie consent to record the user consent for the cookies in the category "Functional". |
| cookielawinfo-checkbox-necessary | 11 months | This cookie is set by GDPR Cookie Consent plugin. The cookies is used to store the user consent for the cookies in the category "Necessary". |
| cookielawinfo-checkbox-others | 11 months | This cookie is set by GDPR Cookie Consent plugin. The cookie is used to store the user consent for the cookies in the category "Other. |
| cookielawinfo-checkbox-performance | 11 months | This cookie is set by GDPR Cookie Consent plugin. The cookie is used to store the user consent for the cookies in the category "Performance". |
| viewed_cookie_policy | 11 months | The cookie is set by the GDPR Cookie Consent plugin and is used to store whether or not user has consented to the use of cookies. It does not store any personal data. |