A kitchen can have beautiful cabinetry, a carefully chosen worktop and still feel flat once the main light is switched off. LED tape changes that instantly. Tucked beneath a wall unit, inside a display shelf or along the edge of a ceiling detail, it brings a layer of light that makes a room feel considered, comfortable and far more expensive than the fitting itself suggests.
Unlike a statement pendant, LED tape is rarely the first thing guests notice. That is precisely its strength. It quietly defines edges, softens shadows and highlights the materials you have chosen, while also solving practical problems such as dark work surfaces, awkward stairs and poorly lit wardrobes.
Why LED tape earns its place in a lighting scheme
Good lighting is built in layers. Ambient lighting gives a room its general brightness, task lighting helps you cook, read or get ready, and accent lighting adds depth and atmosphere. LED tape can play all three roles depending on where it is installed and how it is specified.
In a kitchen, it is often a hardworking task light beneath cabinets. In a living room, it can create a low-level evening glow behind a media wall or within shelving. In a hallway, it can make each stair tread easier to see without the harshness of an overhead fitting. The result is a home that feels more welcoming at every hour, not just when every ceiling light is on.
It is also remarkably adaptable. Tape can follow a long run beneath cabinets, turn around a joinery detail, sit within a recessed channel or be cut to suit a compact alcove. For renovations, extensions and bespoke joinery, that flexibility is what makes it such a valuable finishing detail.
Where LED tape looks best
The most effective installations have a purpose. Rather than adding light everywhere, use it to draw attention to the features that make the room yours.
Kitchens: brighter worktops, softer evenings
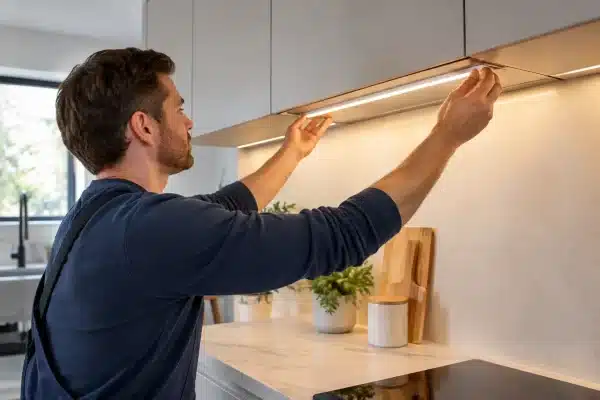
Under-cabinet lighting is one of the most popular uses for LED tape because it directly improves how a kitchen works. Overhead spots can cast your own shadow across the worktop; a continuous line of light under the wall units removes that issue and makes food preparation easier.
For a more styled finish, consider tape along the plinth beneath base cabinets or inside glazed units. Plinth lighting gives the kitchen a subtle floating effect, particularly effective with darker cabinetry or a contemporary island. Keep it on a separate switch or dimmer from the worktop lighting, however. Bright task lighting is useful while cooking, while a softer low-level glow is better for late evenings and entertaining.
Living rooms: give feature walls depth
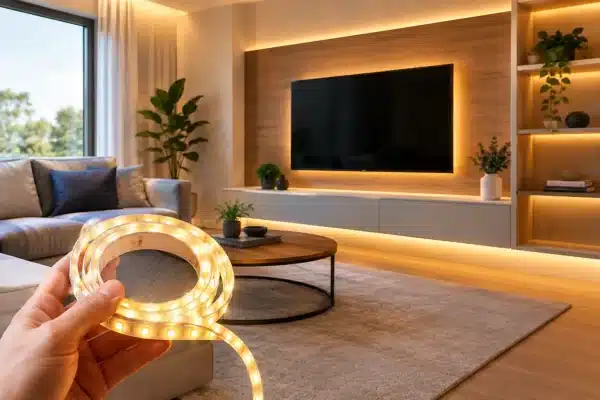
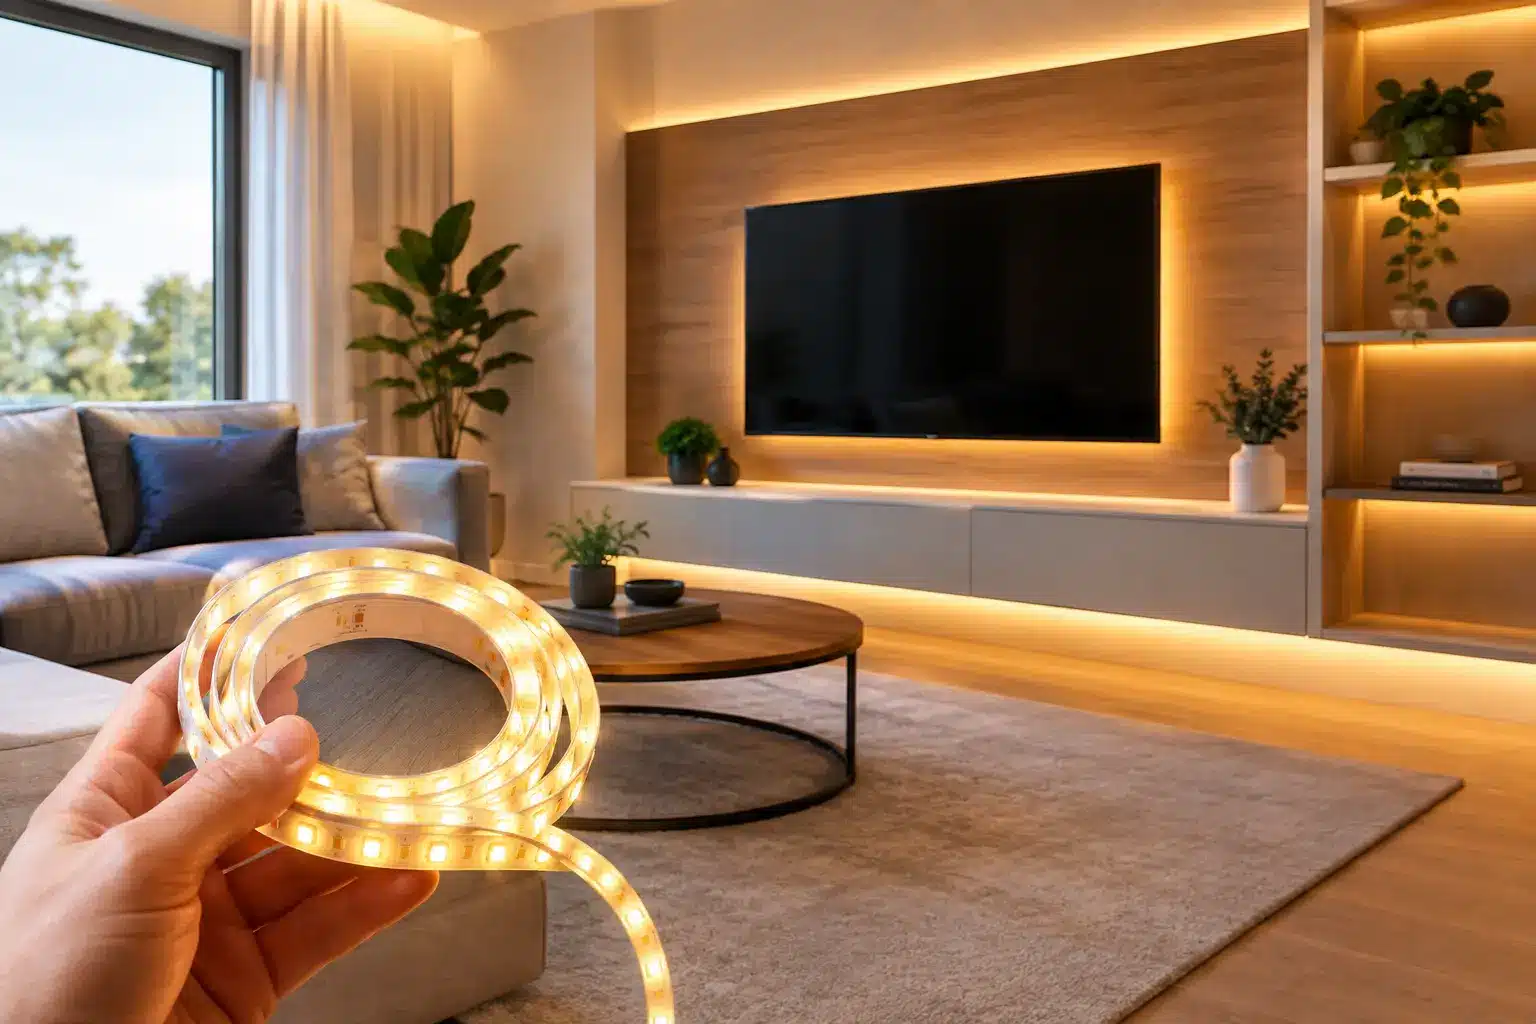
LED tape is especially effective in joinery, media walls and shelving because it creates contrast without adding visual clutter. A warm glow behind a television can reduce the stark difference between a bright screen and a dark wall. Within bookcases or display niches, it gives ceramics, artwork and favourite objects a more gallery-like presence.
Avoid placing bare tape where the individual light points will be visible from a sofa. A recessed profile, diffuser or a concealed lip in the joinery makes the light appear as an even wash rather than a row of dots. It is a small specification choice with a major impact on the finished look.
Bedrooms: a calmer alternative to the main light
Bedrooms benefit from lighting that can slow the space down. Tape beneath a bed frame, behind a headboard or inside wardrobes provides gentle illumination without the need to flood the room with bright ceiling light.
Warm white works beautifully here, especially when paired with bedside lamps. Inside a wardrobe, a brighter neutral white can be more useful for choosing clothes accurately. There is no rule that says every LED tape run in a home must match exactly – the right colour temperature depends on the job it needs to do.
Bathrooms, halls and stairs: safety with style
Low-level lighting is practical where people move through the home at night. LED tape in a bathroom vanity, beneath a mirror surround or in a recessed wall detail creates a polished hotel-inspired effect. For wet areas, the tape and fittings must have the appropriate protection rating, and the installation should be planned carefully with a qualified electrician.
On staircases, tape can be integrated below each tread, beneath a handrail or along a skirting recess. It adds a refined architectural detail while improving wayfinding after dark. Motion sensors are worth considering in these spaces, as they provide light when needed without leaving it running unnecessarily.
Choosing the right LED tape for the job
Not all tape produces the same finish. Selecting by price alone can lead to patchy light, visible dots, poor colour consistency or a product that is simply not suited to its location. A few choices make the difference between a quick addition and a properly resolved lighting detail.
Start with colour temperature
Colour temperature determines whether the white light feels warm, neutral or cool. For relaxed living spaces, bedrooms and decorative shelving, warm white around 2700K to 3000K tends to feel inviting and flattering. It suits timber, brass, soft furnishings and warmer paint tones.
Neutral white, often around 4000K, is a strong choice for task-focused areas such as utility rooms, wardrobes and some kitchens. It offers clearer visibility without looking clinical. Cooler light can suit particular commercial or highly contemporary settings, but in a home it can make creams and natural finishes appear less welcoming.
If you are choosing tape for several adjoining areas, look at the overall scheme. A kitchen opening onto a living space may need a more considered balance than two entirely separate rooms.
Consider brightness, not just length
Brightness is usually measured in lumens per metre. Decorative shelf lighting needs far less output than a kitchen worktop run. Too little light will look underwhelming; too much can create glare on glossy surfaces and turn a relaxing room into a showroom.
Dimming gives you much more control and is often worth including from the start. It lets the same LED tape work brightly during food preparation and softly when the kitchen becomes the centre of the evening. Make sure the tape, driver and chosen control method are compatible. This is one area where a complete, properly matched system is preferable to piecing together components at random.
Do not overlook profiles and diffusers
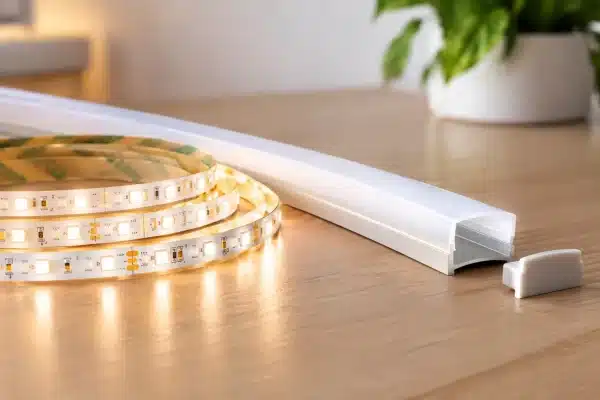
Aluminium profiles are not simply a cosmetic extra. They help manage heat, protect the tape and create a straighter, cleaner installation. A diffuser softens the output, hiding individual LEDs and delivering the continuous line of light most people expect from a premium finish.
For under-cabinet lighting, a surface-mounted or angled profile can direct light neatly on to the worktop. For bespoke joinery, a recessed profile gives a more integrated result. The best option depends on whether the tape is meant to be seen, concealed or used to graze light across a surface.
Plan the installation before ordering
Measure each run carefully, including where the cable will travel to reach the power supply. LED tape can be cut at marked points, but cutting it without a plan may leave you short or create unnecessary joins. Long runs also need thoughtful power planning so the brightness remains even from one end to the other.
Think about where the driver will be housed. It needs to be accessible for future maintenance but discreet enough not to interrupt the finished room. A cabinet void, service area or accessible section of joinery can work well. For kitchens, bathrooms, stairs and any hardwired installation, professional fitting is the sensible route.
This is particularly true for a bespoke project. Bespoke LED strip solutions from Lux Lighting can help bring together the tape, profile, driver and controls around the dimensions and ambition of the space, rather than asking a standard kit to do a job it was never designed for.
Common mistakes that weaken the effect
The first is choosing a cool white tape for every room. It may appear bright in a product description, but it can make a lounge, bedroom or warm-toned kitchen feel less inviting. The second is installing tape without a diffuser, then being disappointed by visible LED points reflected in polished tiles, glass or lacquered cabinetry.
Another common issue is placing the tape where it shines directly into someone’s line of sight. Light should reveal a surface or create a glow, not announce its source. Concealment, angle and dimming matter as much as the tape itself.
Finally, resist treating LED tape as an afterthought. It is easiest to achieve a clean result when the channels, cable routes, switching and power supplies are considered alongside the joinery or renovation work. Retrofitting is possible, but planning early gives you more freedom and fewer visible compromises.
The most successful LED tape installations do not feel like an added gadget. They make a worktop easier to use, a staircase safer to navigate and a living room more inviting after dusk. Choose the right warmth, brightness and finish, then let the light do its quiet work.